Toilet Cistern & Fittings
For toilet cisterns, start with the setup you’re matching - concealed, close coupled, low level or high level - because that decides the shape, fixings and how much of the assembly you need. After that, choose between plastic and ceramic. Dual flush and push-button fittings are common on newer jobs, while lever flush still turns up on older replacements.
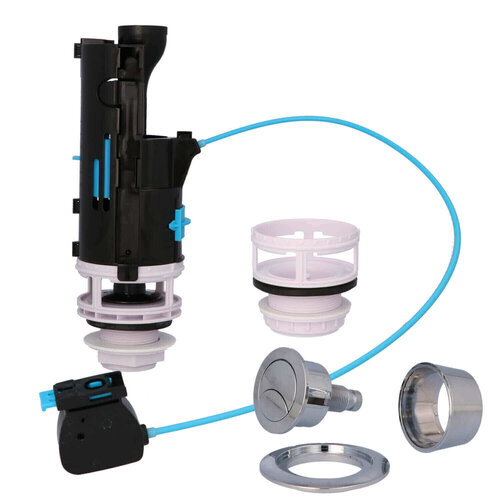
Viva Skylo Dual Flush Valve Long Cable
Cable-operated dual flush valve with WRAS approval, universal fit and adjustable…
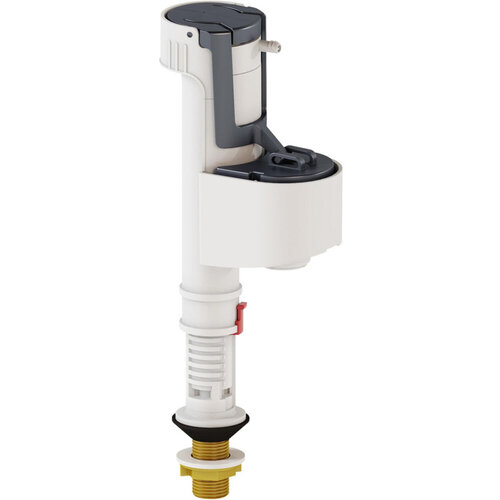
Flume Brass Shank Fill Valve 1/2" - Bottom Entry
Flume 1/2-inch brass shank bottom entry fill valve
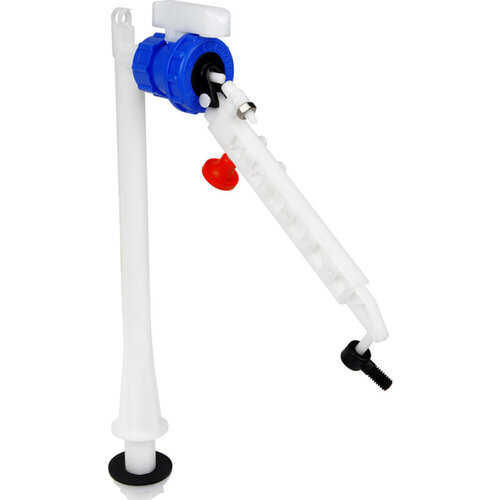
Delchem Adjustable Arm Fill Valve - 9.5" Bottom Entry
Adjustable arm bottom entry fill valve for toilet cisterns
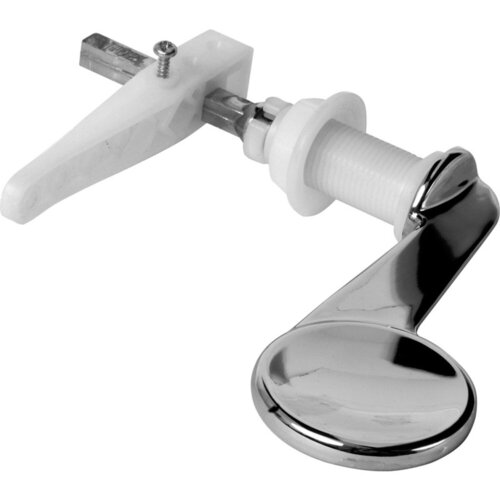
Enabler Less Able Cistern Lever
Accessible cistern lever for easier operation by less able users
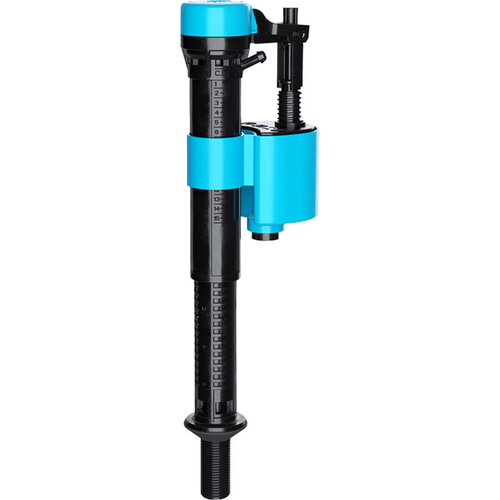
Viva Skylo Bottom Entry Fill Valve - Plastic Shank
Plastic shank bottom entry fill valve, adjustable 203-305mm
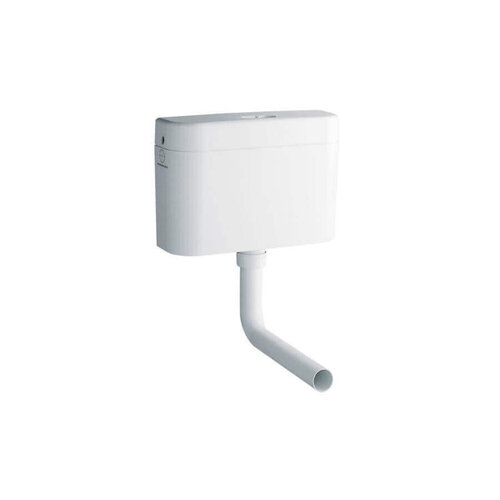
Grohe Adagio Single Flush Concealed Cistern - 6L
6 litre single flush concealed cistern by Grohe
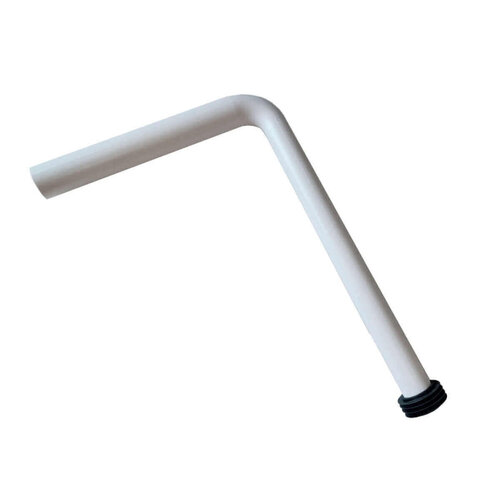
Wirquin Extended Flush Pipe with Flush Bung - 2" x 1 1/2", 352mm x 510mm
Extended flush pipe with bung, 2" to 1.5", for deep ducting cisterns
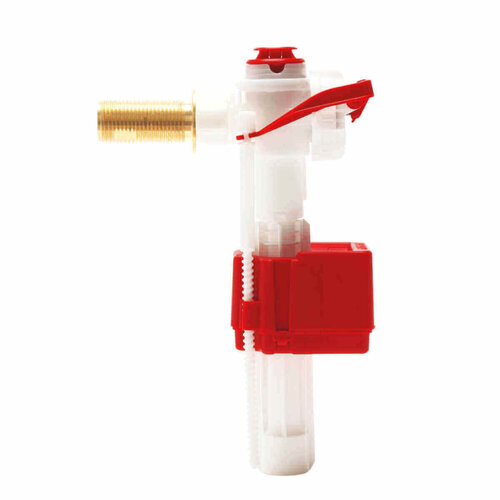
Fluidmaster Pro Series Side Entry Fill Valve with Brass Shank - 1/2"
Pro Series side entry fill valve with 12.7mm brass shank for toilet cisterns and…
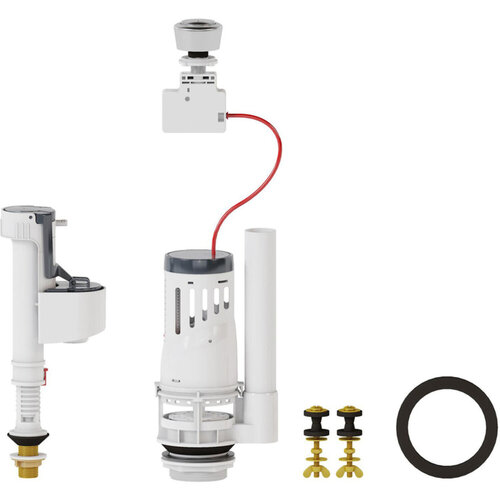
Flume Bottom Entry Flushing Kit - 1/2" Brass shank
Complete flushing kit with bottom entry fill valve, 1/2" brass shank, and gasket…
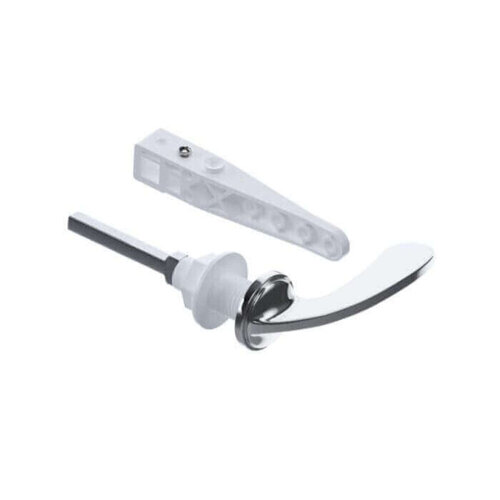
Viva Toilet Handle E Type Kit - 3/8"
Traditional toilet handle kit with polished chrome finish
For the Trade
What usually decides toilet cisterns is the space you’ve got, the pan connection, and whether you’re replacing like for like or changing the setup. A concealed cistern suits a boxed-in or furniture job where the pipework needs hiding. A close coupled unit is quicker to line up when you want the cistern sitting on the pan. Low and high level sets still come up on refurb work, but they only make sense when the room or spec calls for that look. Call-back jobs are usually the ones where the outlet position or flush control does not match what is already there.
Types of Toilet Cistern & Fittings
Start with the layout and the flush gear you need. That narrows toilet cisterns quickly.
Concealed cisterns suit installs where the cistern sits behind a wall or furniture run. They give a cleaner finish, but you need the space and access planned in.
Close coupled sets keep the cistern and pan together. They are quicker to match on a straightforward replacement, with less to coordinate on site.
Low level and high level cisterns still matter on refurb work. They fit around existing pipe runs and fixing points, which helps when you are working to what is already there. The trade-off is a less compact finish and, usually, more visible hardware.
If you’re matching a wider scheme in Bathrooms, that is often where the format choice settles.
Selection Factors for Toilet Cistern & Fittings
Material is usually the first call on toilet cisterns because it changes handling as much as the finish. A plastic toilet cistern is lighter, easier to get into awkward spots, and less of a nuisance when you’re swapping a unit on a tight turnaround.
A ceramic toilet cistern gives a firmer feel and a more solid face. The extra weight can slow the job down, and it matters more on older fixings or where access is poor.
If you’re also sorting the visible finish around the suite, it’s worth checking Bathroom Wall Panels or Bath Panels at the same time. The material choice often affects what sits neatly alongside it.
Finish the Room
Once the cistern’s fixed, the next call is what finishes the visible side and what still needs access later. If you’re boxing it in or running it through furniture, sort the panel and access details before you close it up. That’s where call-backs usually start.
If the job needs a cleaner wall finish, line up bathroom wall panels early so the set-out and service points don’t clash. If the rest of the room is going in at the same time, keep bathroom furniture and bathroom accessories in view as well. The cistern position can affect what sits where.
Related searches
Local availability for Toilet Cistern & Fittings