Safety & Hazard Tapes
Safety tape comes down to how much you need to warn off, how long it needs to stay visible, and whether you’re marking a perimeter or a fixed route. Plain barrier tape is usually the quick answer for short-term cordons, while black and yellow hazard tape or floor marking tape makes more sense where the line needs to stay clear and get noticed. Call-backs often start when the tape is too light for the job or the wrong colour for the area, so match the format to the risk, not just the wording on the roll.
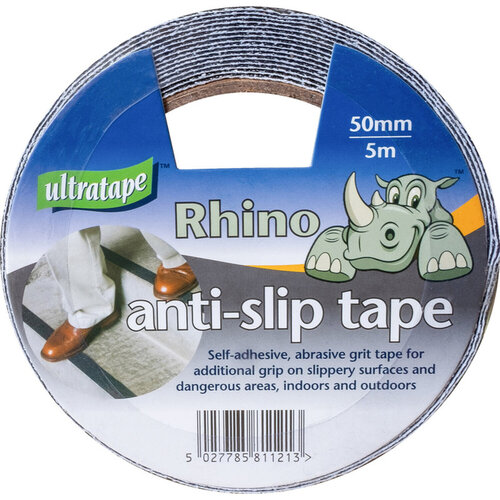
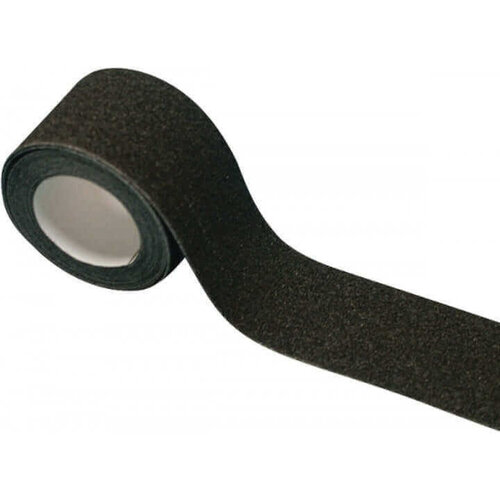
Black Anti Slip Tape - 50mm x 5m
Self-adhesive black anti-slip tape, 50mm x 5m
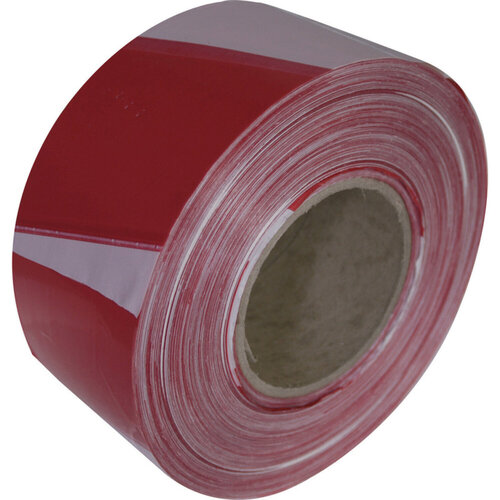
Red & White Barrier Tape - 70mm x 500m
Red and white barrier tape for highlighting hazards, 70mm x 500m
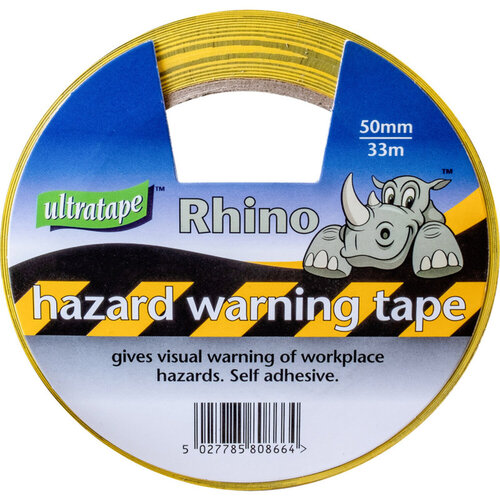
Hazard Tape - Yellow & Black
Yellow and black self-adhesive hazard tape, 50mm x 33m
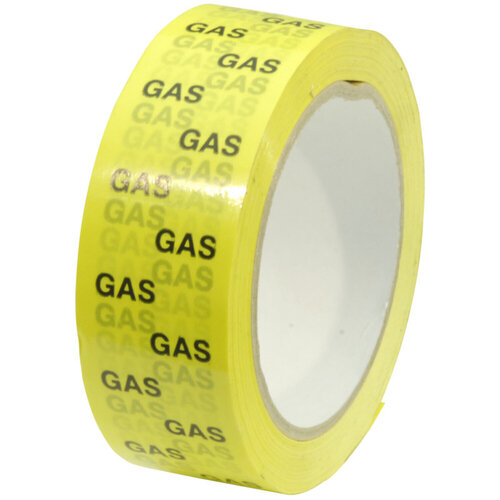
Gas Pipeline Identification Tape - 38mm x 66m
Gas pipeline identification tape, 38mm x 66m
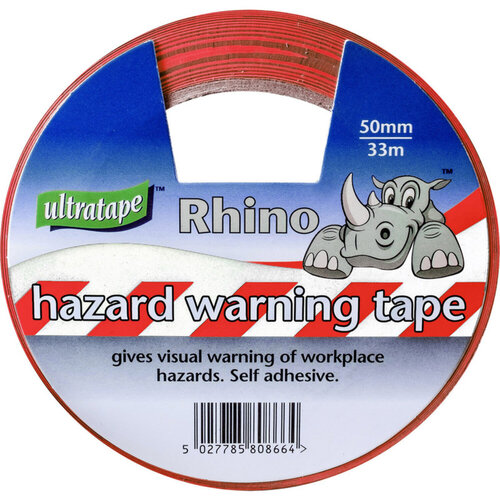
Hazard Tape - Red & White
Red and white self-adhesive hazard tape, 50mm x 33m
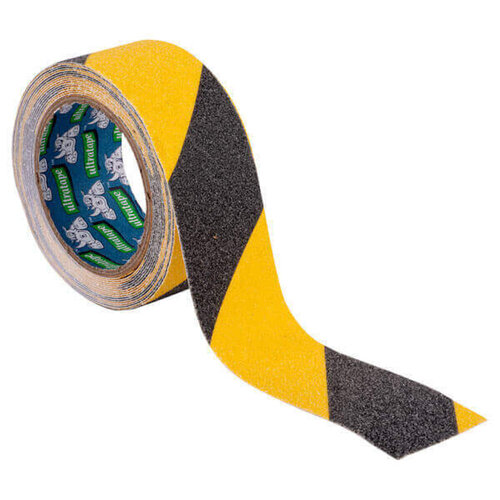
Ultratape General Purpose Anti Slip Tape - 50mm x 5m Yellow/Black
50mm x 5m black and yellow anti-slip hazard tape
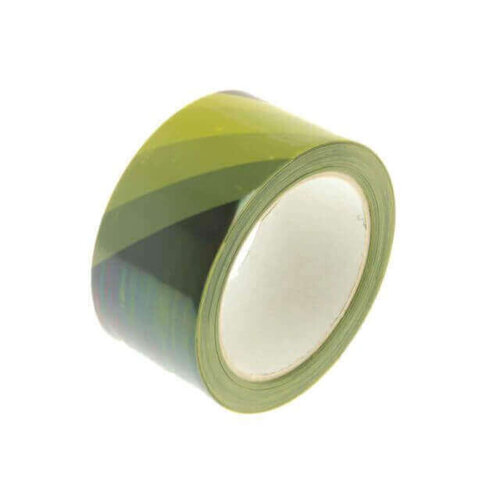
Faithfull Hazard Warning Safety Tape - 50mm x 33m Black Yellow
Self-adhesive hazard tape for marking safety zones, 50mm x 33m.
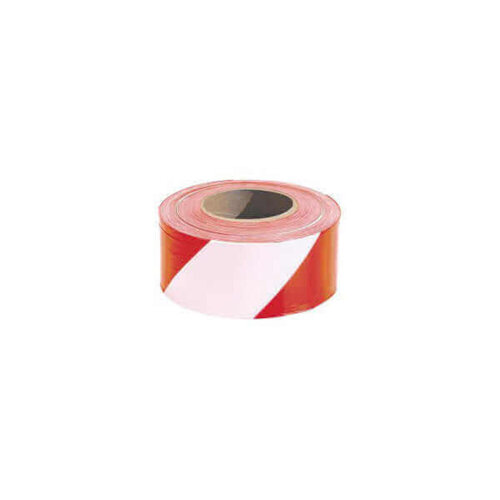
Barrier Tape - 500m Red/White Zebra
Red/white zebra barrier tape for site demarcation, 500m x 75mm
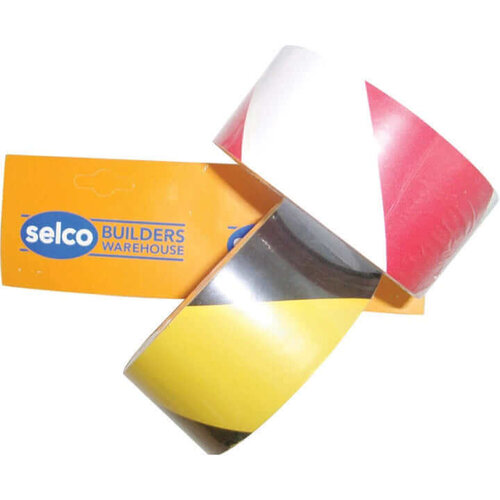
Hazard Tape - 2 Pack
Two-pack of hazard tape for safety marking and cordoning
3M Anti-Slip Tape - 3m x 50mm Yellow + Black
Yellow/black anti-slip tape, 3m x 50mm, for improved grip and visibility
For the Trade
Start with the space you’ve got and how it’ll be used, then the choice gets easier. A tight corridor, warehouse aisle or temporary exclusion zone needs safety tape that reads fast and stays out of the way. If the risk is visual only, lighter barrier tape is usually enough. Where the line has to stand out on busy floors or through mixed traffic, black and yellow hazard tape or floor marking tape makes more sense. The usual mistake is buying on wording alone and ending up with a roll that’s too subtle for the job.
Safety & Hazard Tape Options Compared
For most jobs, you’re choosing between a plain barrier roll and a more specific trade safety tape. Plain barrier tape suits short-term cordons and quick no-go areas. It’s cheap, light, and easy to run out fast. The trade-off is simple - it doesn’t carry much weight on a busy site.
Black and yellow hazard tape works when the line needs to stand out at a glance and stay clear. Floor marking tape is the better call if the line has to hold up under traffic or repeated cleaning. If you only need a visual warning, the parent Tapes range gives you the broader choice. If the job gets handled or walked over, the tougher format usually saves the call-back.
Choosing Materials and Size
Start with what the tape has to do on site. Stop access. Mark a route. Keep a floor line visible through traffic.
A lighter safety tape is fine for short-term cordons where the message matters more than the finish. Go heavier on floor marking tape where forklifts, pallets, or repeated footfall would lift a thinner roll.
Black and yellow hazard tape gives a quick read when you want the warning seen at a glance. Red and white suits restrictions that need a more formal look.
If the job is fixing down carpet or a panel, move over to Carpet Tape or Double Sided Tape instead. Wrong tape there is what causes call-backs.
Completing the Setup
Once you’ve picked the right safety tape, the next call is what the rest of the job needs around it. If you’re setting out a temporary exclusion, you may still need barrier boards, cones or screens to stop people walking straight through the line. Tape on its own gets ignored on busy sites.
For warehouse or yard work, the usual follow-on is floor marking tape where the line needs to stay put, rather than just warn people off for the day. If the area’s being handed back after the works, the finish matters too. A clean edge and the right storage or access arrangement usually save you the next complaint.
Related searches
Local availability for Safety & Hazard Tapes