Marking Gauges
Marking gauges are the one you pick when the line has to stay put and the setting matters more than speed. A simple wood marking gauge is usually the economical choice for general carpentry, while a mortise gauge or wheel marking gauge makes more sense when you need repeatable, cleaner lines or two settings in one tool. Brass and other metal-bodied versions tend to feel steadier in use, but the extra weight only helps if you want that firmer hand on the job.
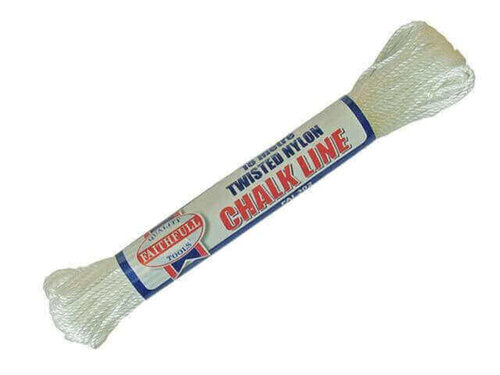
Faithfull Chalk Line Twisted Nylon - 18m
18m twisted nylon chalk line for marking straight lines.
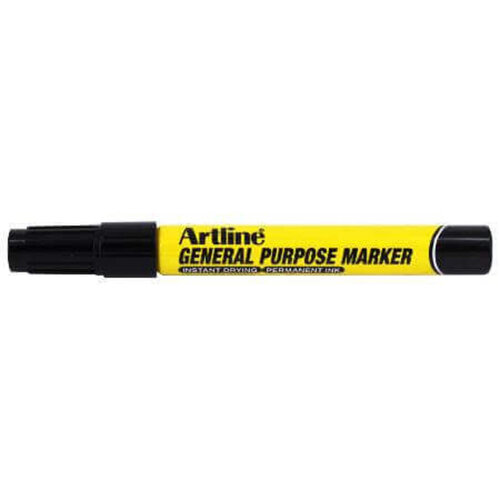
Artline EKPR General Purpose Marker - Black
Black general purpose marker for marking tasks
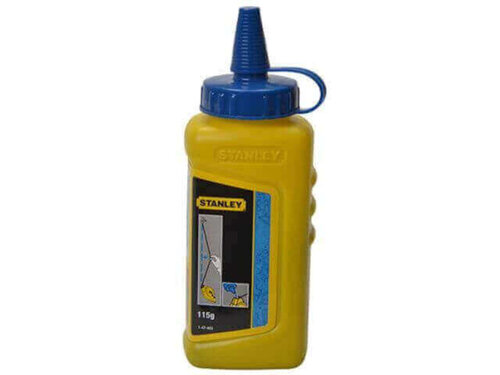
Stanley Chalk Refill - Blue 113g
Blue chalk refill, 113g, for chalk reels, interior and exterior use
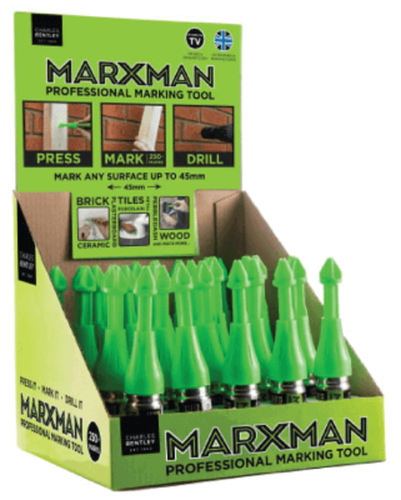
Marxman Standard Professional Marking Pen
Marking pen for drill positions, marks up to 45mm deep with fluorescent chalk
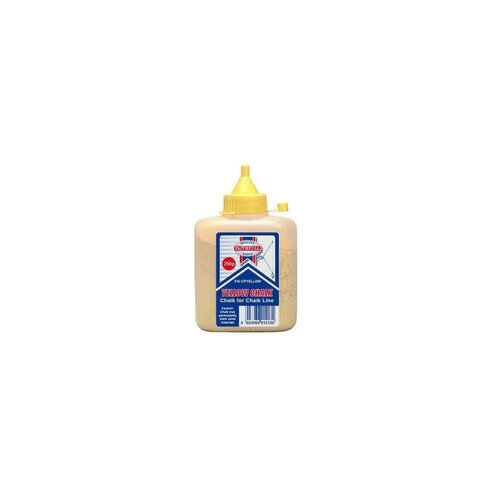
Faithfull Chalk Powder - 250g Yellow
Yellow chalk powder, 250g
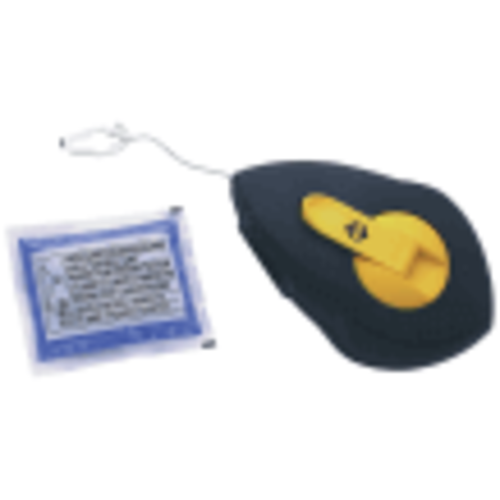
C.k Tools Chalk Line & Chalk - 30m
30m chalk line with included chalk
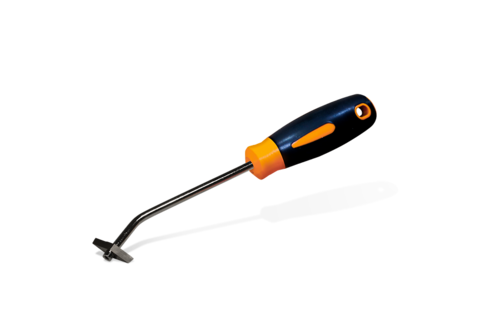
Cmstool EDMA Scribe
EDMA scribe for precise marking tasks.
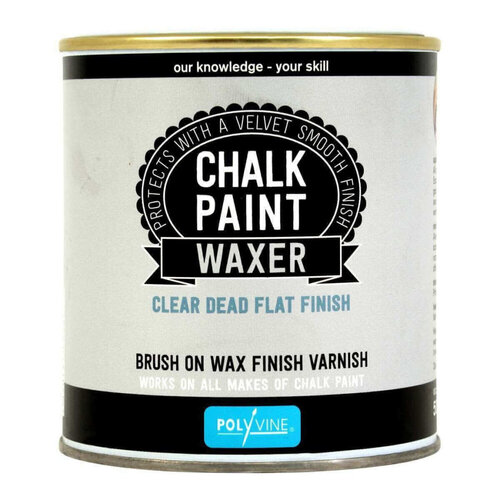
Polyvine Chalk Paint Waxer - 500ml
Turns emulsion paint into chalk paint for a velvety smooth finish
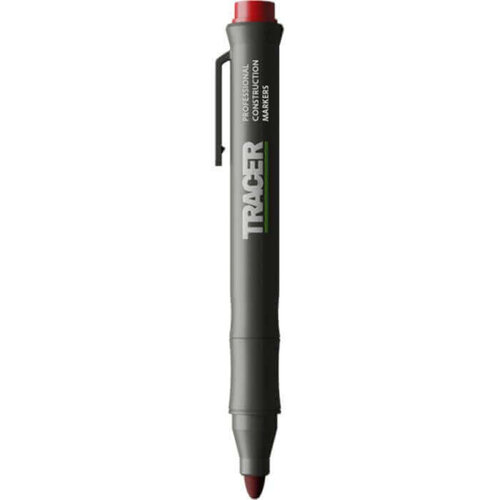
Tracer Acer Clog Free Marker Pen - 3 Pack
3-pack of clog-free markers for concrete, brick, dusty surfaces, wood and glass.
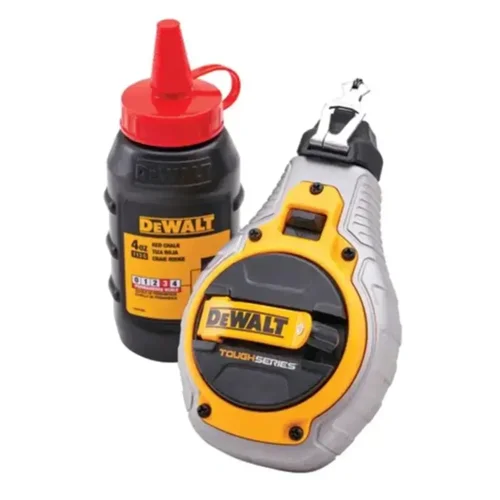
Dewalt Chalk Line Set
30m chalk line set with bold braided line and anti-jam gear
For the Trade
You narrow marking gauges by what has to stay consistent on the job. One line, two lines, or a setting you’ll reset all day. A wheel marking gauge usually gets the nod when you want a cleaner cut in harder stock and less drag. A mortise gauge suits repeat work where the spacing must stay locked. A wood marking gauge is still the common counter choice for general carpentry because it’s simple, quick to set and easy to live with. The one that slips or creeps is the one that comes back, so the setting and lock matter more than the badge on the handle.
Popular Marking Gauge Formats
If you’re choosing between marking gauges, start with the work in front of you and how fine the line needs to be. A simple marking gauge is still the usual pick for everyday setting out. It’s quick, familiar, and does the job without fuss.
A mortise gauge makes more sense when you need two lines held at a fixed spacing without resetting between cuts. That saves time on repeated mortises, but it’s more tool than you need for basic layout.
A wheel marking gauge is worth the extra spend when you want a cleaner scribe in harder stock. It’s not always the quickest choice for standard carpentry work, so it suits jobs where the cut line matters more than speed.
Keep it alongside the other Measuring Tools you already use rather than treating it as a one-size answer.
Key Differences When Choosing
Material is the first call here. A wood marking gauge is usually the lighter, easier option for everyday joinery. A brass marking gauge brings more weight and a firmer feel against the work.
That extra mass can help the tool sit on the line. It also changes how it feels over a long day. In practice, the gauge that sits right in your hand is often the one you’ll use more accurately. If you’re working alongside Laser Levels or Rulers, this is the hand tool you pick when the mark itself needs to stay exact.
Next Decisions After Choosing
Once you’ve picked the marking gauges, the next call is what else you’re using to set the job out. If you’re working on panels, screens or fitted storage, the gauge needs to sit with the rest of the marking kit so your lines stay consistent from one piece to the next.
A ruler or a laser level can keep the wider setting-out in step. The gauge still does the repeat line work. That’s the bit you notice when a joint is out. The jobs that come back are usually the ones where the marking was rushed, not the cutting.
Related searches
Local availability for Marking Gauges